Overview
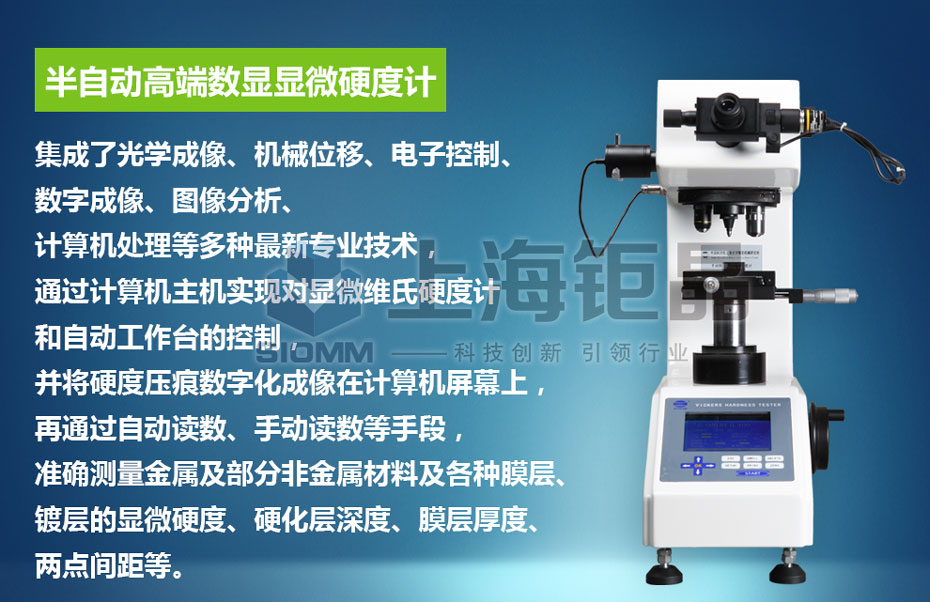
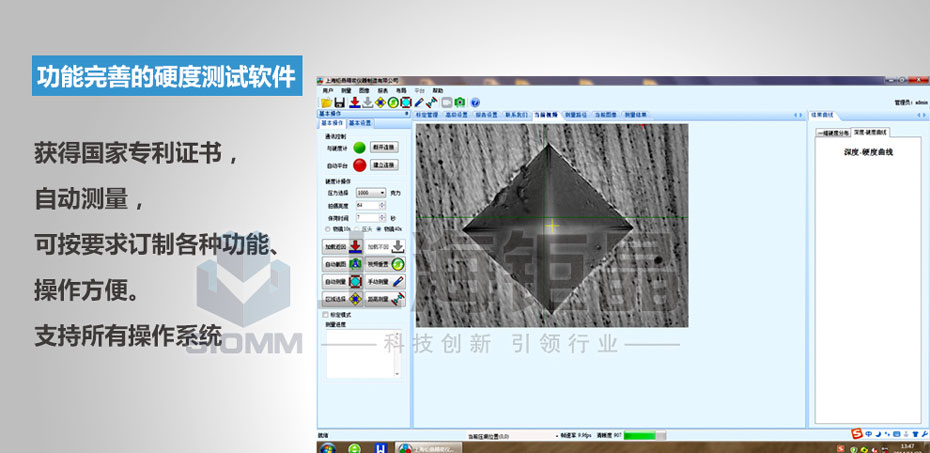
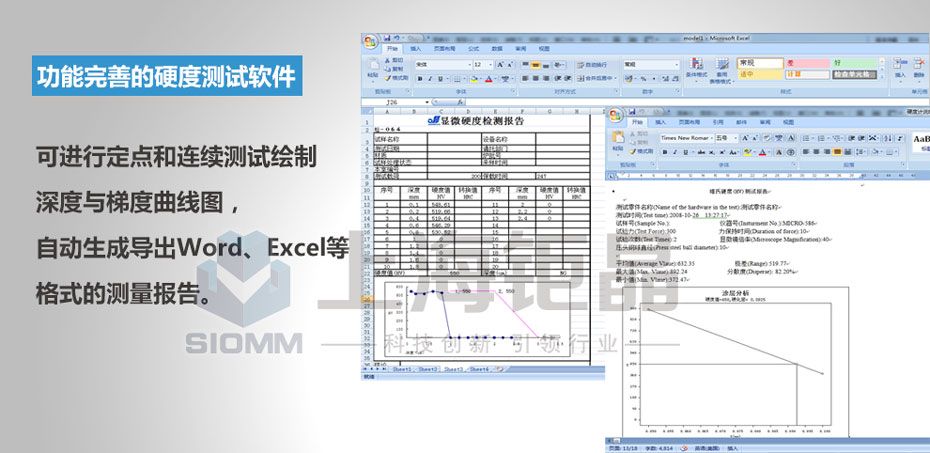
AHVD-1000XY semi-automatic digital Micro hardness test system integrated with latest professional technique (optical projection, mechanic shift, electric control, digital projection, image analysis, and computer process etc.). The computer can control hardness tester and automatic working stage via software, and indicate the indentation on the screen by digitization, then test the micro hardness of metal parts of non-metal material, plating, harden depth, coating thickness, film thickness, and the distance between two points by automatic reading or manual reading; meanwhile, it can take the picture of surface appearance of metal, and print in fixed ratio. This system breaks through the traditional test method, high accuracy, high repeatability test; it is the important equipment for analysis material.
In the Micro Vickers hardness test system, computer control the hardness tester working and receiving the information of hardness tester via RS-232 port; Computer control the control box of working stage through RS232, and control box control working stage moving and receiving the information; The optical signal of indentation via digital camera will transfer indentation image to computer screen, then get the Vickers hardness value by manual or automatic reading.
System function
A. System linkage
The system can control the movement of hardness tester and get the required information. including eyepiece focus, turn turret, loading test force, setting dwell time, lightness of illumination and get the test parameters of present pressure.
B. Working stage (working table)
Control the electric stage to move to a setting direction, distance, and speed under different modes.
C. Digital image
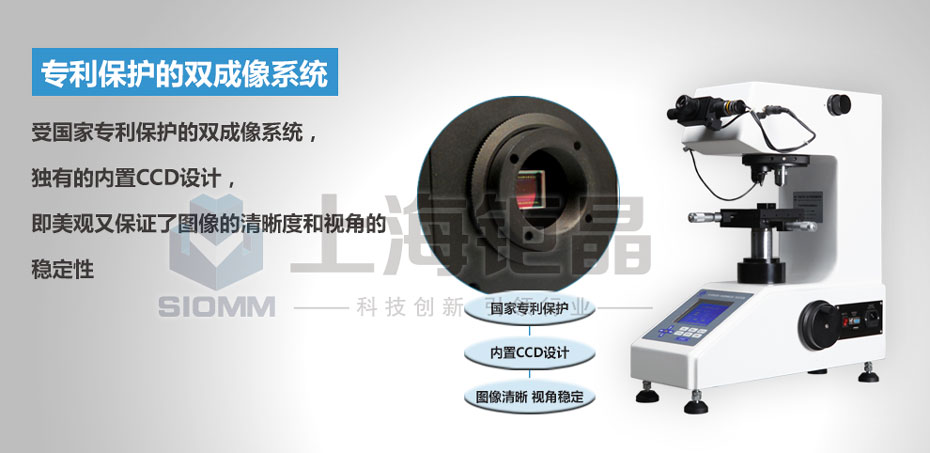
It adopts the most advanced digital imaging technique, imaged by USB2.0 port.
D. Hardness measuring
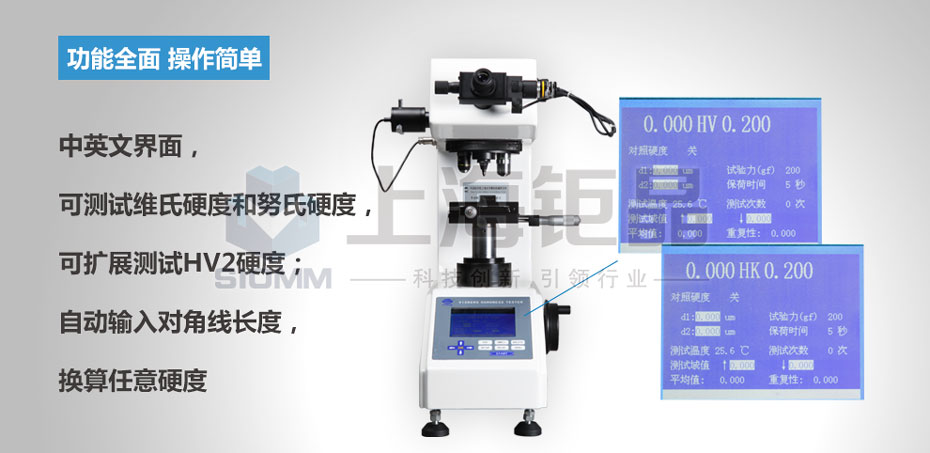
Read the Vickers / Knoop hardness value by manual reading mode or automatic reading mode, and it with hardness conversion function.
E. Output test result
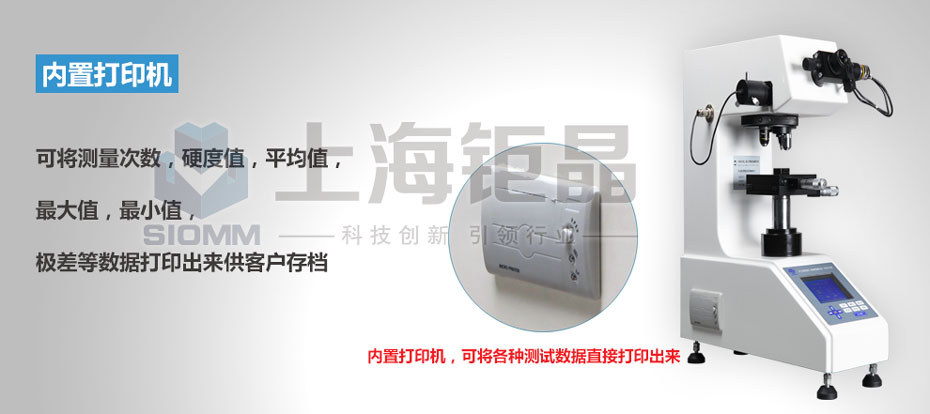
Save test result, test environment, indentation image,etc. test process data and test result data, and print test report and image.
Performance and features
A. Full interactive with hardness tester system
Comprehensive control the action of hardness tester and acquisition hardness tester parameters, including focus, turret turning, dwell time setting, lightness of illumination, choose test force, test mode (HV / HK), and get the test result (D1, D2, HV), etc.
B. High accuracy, diversity of automatic working stage control
1) High accuracy
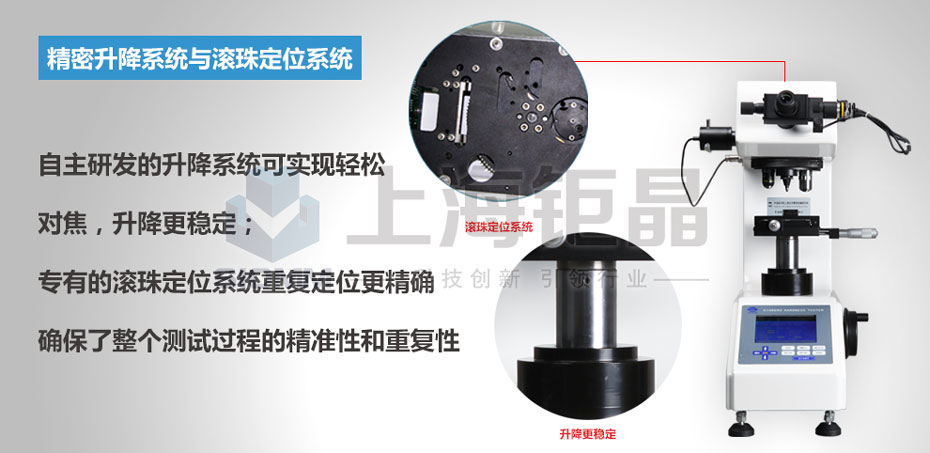
Repeat accuracy ≤3um; Mini. Move unit ≤1um; Operation type have manual control, electrical control and computer control.
2) Convenient working stage
Software control the power supply of working stage, based on the operation habit of operators can choose manual control mode, electric control mode or computer control mode. This system support of X, Y axis synchronous movement, save time.
3) Flexible computer control mode
Positioning Movement: Working stage move to the position as software setting.
Designated Point Movement: Choose one point on test piece, then move to the below of indenter.
Directional Movement: cursor click can control the working stage move to eight direction, move step can be setting.
Flexible Movement: Move cursor can control the working stage move to any direction, it is very convenient for operator to check the test piece surface.
Variable Speed Movement: There have five speeds for choose when move the working stage.
Other function: Free setting initial point, automatic reset, mechanical limit, etc. This system can meet different requirements of customers.
4. Multiple working stage application mode
Software can provide various programmatic sample test method via the combination of hardness tester control, automatic working stage control, digital imaging and manual / automatic reading.
4. Powerful function coordinates setting of automatic working stage
A variety of setting modes ensure the user still can get a satisfactory measurement result when sample place not in vertical or horizontal.
Two Points Mode: Click any two points on the test piece, then working stage (working table) will move as its direction.
Normal Line Mode: select tangent to the edge of the specimen, then the working stage will move based on this direction;
Angle Bisector Mode: Via choose the angle degree, then working stage (working table) will move as the direction of angle bisector.
C. High resolution digital imaging technology
Adopt high resolution digital imaging technology, the highest resolution can reach1.3million pixel (1280x1024),far more than general simulation camera resolution(less than 400,000 pixel ),provide base of high precision measurement.
Plug and play, with electric plug USB2.0 interface, make the installment and maintenance convenient, don’t need to close computer power, then can finish all installment, debugging and maintenance .
Technical parameters
| The host technical parameters |
| No. | Technical description | Specification |
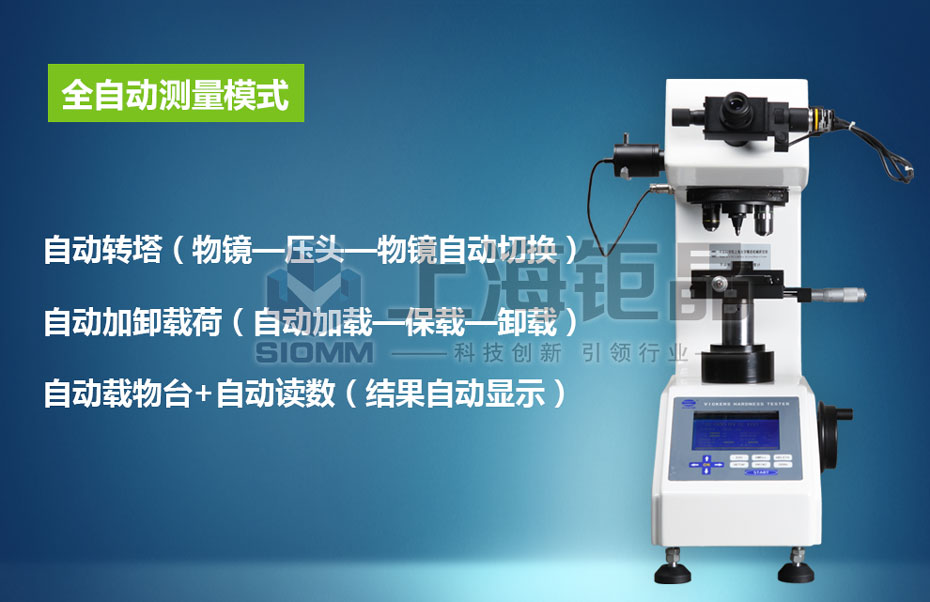
| 1 | Automatic measurement model | Automatic turret (Objective lens?indenter?objective lens automatically switch) Automatic loading/unloading (automatic loading?dwelling?unloading) Automatic X-Y stage + automatic reading (Result displayed automatically) |
| 2 | Follow standard | GB/T4340, ASTM E-384, International Standard ISO/DIS 6507-2, JIS B-7734 |
| 3 | Load measurement | 10g(0.098N), 25g(0.245N), 50g(0.49N), 100g(0.98N), 200g(1.96N), 300g(2.94N), 500g(4.9N), 1000g(9.8N) |
| 4 | Scale of hardness | HV0.01, HV0.025, HV0.05, HV0.1, HV0.2, HV0.3, HV0.5, HV1, HV2 |
| 5 | Dwelling time | 1~99s (each step is 1 second) |
| 6 | Indenter | Four pyramidal diamond indenter (Angle 136°±0.5°) |
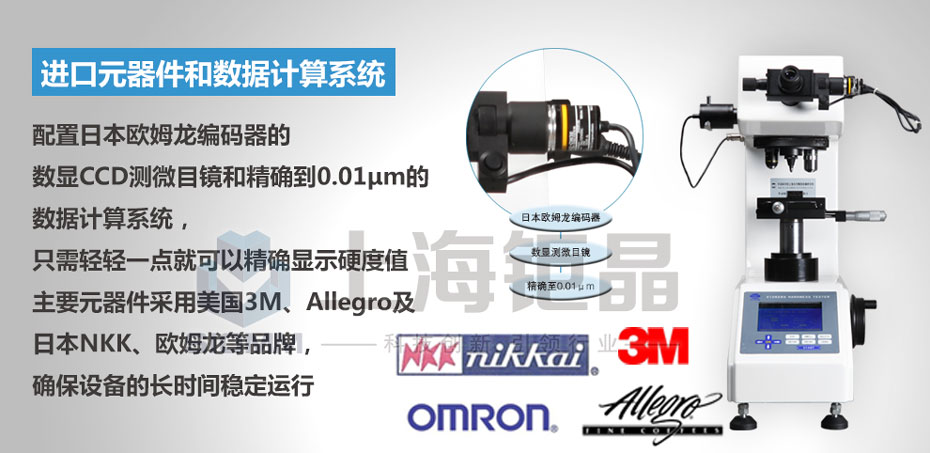
| 7 | Objective and eyepiece | 10X and 40X objective lens, 10 X eyepiece Omron brand |
| 8 | The host screen | Big screen high definition LCD display |
| 9 | Measuring specimen | Max height 85mm, Max depth 115mm |
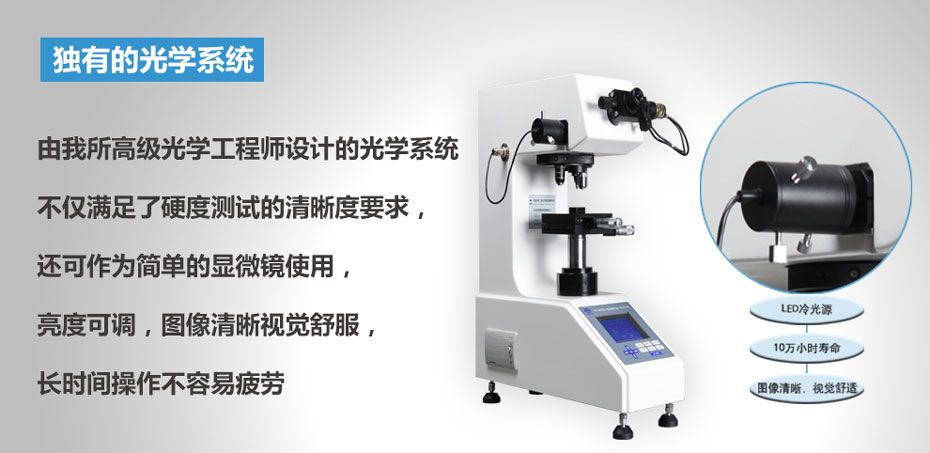
| 10 | Light source | LED cold light source (can be used 24hours continuously, does not produce heat, can adjust the strength of light). |
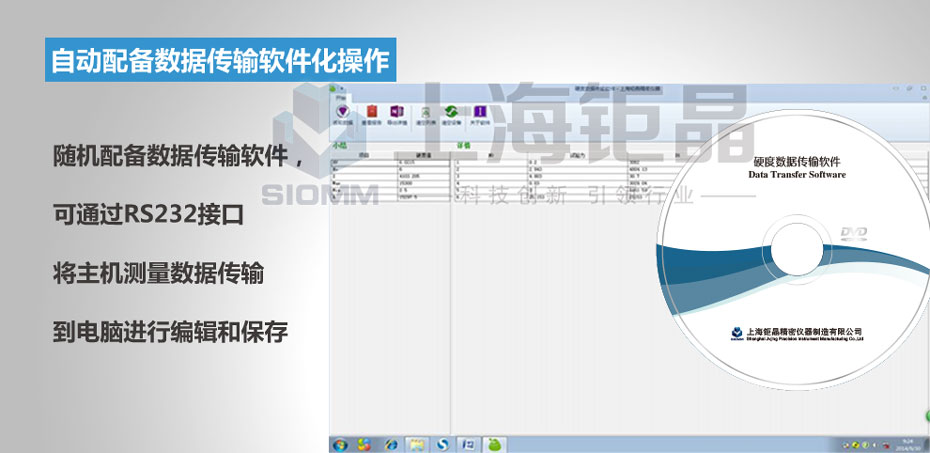
| 11 | Data output | Configuration data transmission data software, can transmitted the measurement data to the computer in variety of formats, and can remove measurement data by software. |
| 12 | Qualified determination function | Enter upper and lower limit, qualified and unqualified judge display and output. |
| 13 | Hardness conversion | Converted to any hardness value of the scale, and meet the international standard. |
| Automatically objective table parameters |
| 14 | Table size | 200*200mm |
| 15 | Driver mode | Control the X- Y axis move freely by software |
| 16 | Max mobile distance | 50*50mm |
| 17 | Mini. Mobile diatance | 1μm |
| 18 | Move speed | Adjustable |
| Image processing system |
| 19 | PC configuration | At least I3/500G/2G/19inch display |
| 20 | camera | Effective physical pixel≥1.3 million |
21
| Image processing system software | Through hardness tester serial communication, realize the system and hardness tester linkage. |
| Real-time display hardness image, convert the signal through software, measure indentation hardness value automatically ,measurement speed is less than 1s. |
| Set by the software, realizes automatic measurement |
| Can convert micro hardness tester to brinell, Rockwell hardness values, and real-time display. |
| Can adjust the contrast, brightness of indentation image . |
| Can operate edge detection for finish not good enough sample of indentation. |
| Horizontal line movement: horizontal distance, can set spacing arbitrarily and have zigzag measurement function. |
| Vertical movement: vertical distance movement, can set spacing arbitrarily and have zigzag measurement function. |
Angle linear groups: arbitrary angle direction of the straight line distance moving, can set spacing arbitrarily and have function of zigzag measurement
|
| Random number test 1: mouse click or input coordinates test at any position |
| Random number test 2:test a reference coordinate system of the random number test mode. |
| Dot in the distance between any two points, can set spacing arbitrarily . |
| Matrix: can automatically recognize sample outline and to set the spacing of sample to overall hardness testing. |
| The origin position arbitrarily set, automatic reset, mechanical limit, and other professional functions. |
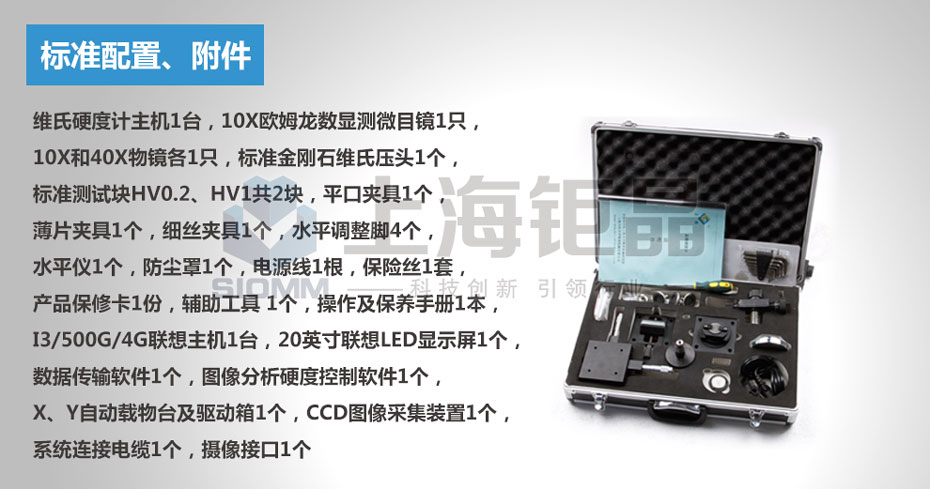
Configuration list
No. | Device name | Qty | Unit | Note |
1 | Micro vickers hardness tester host | 1 | set | Third-party verification certificate |
2 | Standard diamond Vickers indenter | 1 | pc |
|
3 | Objective lens (10×, 40×) | Each 1 | pc |
|
4 | Flat fixture, chip fixture, filaments fixture | Each 1 | pc |
|
5 | Standard test piece HV0.2, HV1 | 2 | pcs | Third-party verification |
6 | 10X Omron micrometer eyepiece | 1 | pcs |
|
7 | Level adjust foot | 4 | pcs |
|
8 | Gradienter | 1 | pc |
|
9 | Dust cover | 1 | pc |
|
10 | Power line | 1 | pc |
|
11 | Fuse | 1 | set |
|
12 | Warranty card | 1 | pc |
|
13 | Assistive tools | 1 | pc |
|
14 | Operation and maintenance manuals | 1 | pc |
|
15 | I3/500G/2G Lenovo PC | 1 | set |
|
16 | 19inch Lenovo LED display | 1 | pc |
|
17 | Image analysis hardness control software | 1 | pc |
|
18 | X-Y automatic object stage and driving box (Table size 200×200mm,Journey 50×50mm) | 1 | pc |
|
19 | CCD Imagine collection machine (Physical pixel≥1.3 million) | 1 | pc |
|
20 | System connection cable | 1 | pc |
|
21 | Camera interface | 1 | pc |
|
